What I made over the weekend! Had my camera close by so now I can do a tutorial for you on how it is made! If you make one please drop me a link, so we can all see!
To start, you will need a fun bottle! This one came with my apartment, someone must of known I would do something with it! Glad it was here! You can probably find one similar at a dollar store or maybe you happen to have a few old interesting adult beverage bottle sitting around somewhere. Possibly Hobby Lobby may have a pretty bottle to use.
Wash and dry your bottle to remove any label or dust. There is a lot of that in my house! Yuck! But guess who hates to dust! Yup me!
Moving on....
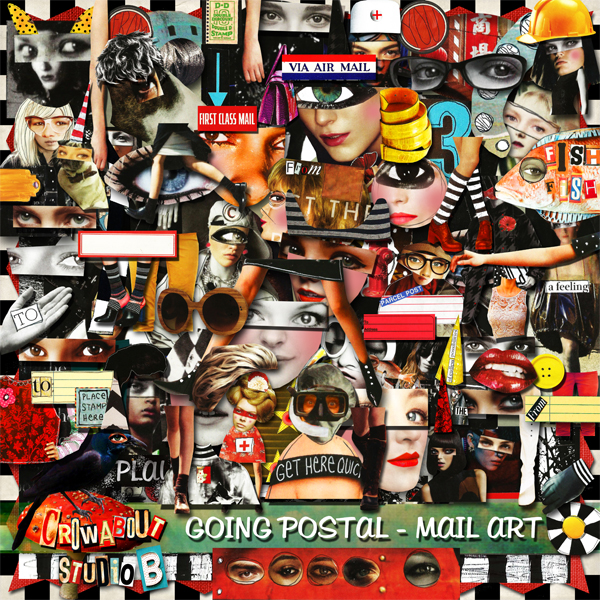
I covered my bottle with an old tissue dress pattern using Mod Podge and a glue brush. I covered all but the bottom. I then went into my Photoshop and created these labels using Tumble Fish Studio's
LaVieBoheme kit.
I measured the size of the space on the bottle in which I wanted to put them on and created the labels in that size in Photoshop and printed them out. I cut out some of the white bits with tiny Bumble Bee Scissors.
Sorry if the tutorial seems a bit backwards....I then painted Gesso over the bottle and let dry. Gesso gives paint something to adhere to.
I did not have any white lace trims, so I glued a vintage looking lace trim to top of bottle rim. I just used a little hot glue to set it in place. You can use whatever glue you like, such as E6000 or Tacky Glue. I then painted Gesso over it as well. My original thought was to dye white lace using my turquoise Dylusions spray. But I made do!
I then painted my bottle...lace and all a light turquoise using Americana acrylic paint. You can buy this just about anywhere. Painting does not have to be perfect, nor in every nook and cranny! I will show you why in a bit!
And here is my bottle painted! I then squeezed out a bit of Raw Umber Liquitex acrylic paint in one of my little paint cups...this can be found at any arts and crafts store! Love this stuff! And what you can do with it! You will also need paper towels and a bit of water. Please ignore my well used water jar lol
With wet paintbrush...not too wet and not too dry....work small portions on your bottle. Brush it on and then right away carefully wipe off the raw umber paint. It should leave your bottle looking antiqued.
Like this!
Then you will need (not necessary but fun) Inka Gold and a paper towel or soft cloth. This I bought at
Retro Cafe Art Gallery It is very easy to use...just dab it on with a small bit of sponge...I use my fingers...and then polish with the towel! SO fun!! Don't know why I did not have this stuff in my studio before!
Just pick sections of the bottle you think you would like to see the Inka Gold on! Here I am showing you how I did mine! Love it!
Next I added the images I put together in photoshop! Trim if necessary! I had too! lol
You can adhere them with Mod Podge or Soft Gel Medium.
Mmmmm! Time for embellishing! I think I got all the sticker gems and sticker letters at Retro Cafe Art Gallery as well! Kristen has a whole load in selection for you to pick from to suit your style!
I used some sticker gems to border the photo and used these fun sticker lace bits
Here
Glued more vintage-y lace bits! Decorate how ever you wish!
I thought I would add one of these knobs to the corked top of the bottle! By Tim Holtz can also be found at Retro Cafe Art Gallery!
Also added some of these...you can get them there too! lol
I love it! The little knob looks great!
You can now see where I added the little flowers! These are some of the things I picked up at JoAnn's store! Ribbons!!!!!!! A key and some Tim Holtz ball chains with clasps. I cut the ball chain to the size I needed and threaded it on to my ribbons, which I had cut to a yard of each color and a yard of the tiny gold ribbon. Then tied to the top of bottle!
Pretty! I don't think you can see the pink ribbon, but it is in there! I also added Letter stickers to the bottle to read Boho Life. Refer to the first photo! And there you have it! Oh You might want to do a couple coat of varnish over the bottle before adding ribbons!
I so need to learn how to write tutorials haha!
Hope you enjoyed!
xoxo


.JPG)


